CORE CONCEPTS
Applications
Creating a new application
To create a new application, follow these simple steps. Before you begin, make sure you have an account and are logged in.
1. In the main menu, navigate to the “Applications” tab.
2. Click the “Create New Application” button to start.

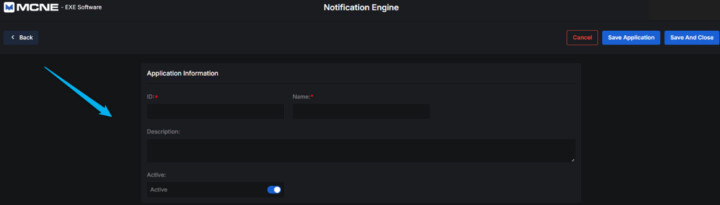
3. You will be redirected to a page where you need to complete the application details.
Required fields:
- Application ID – This is unique identifier. Once saved, it cannot be changed.
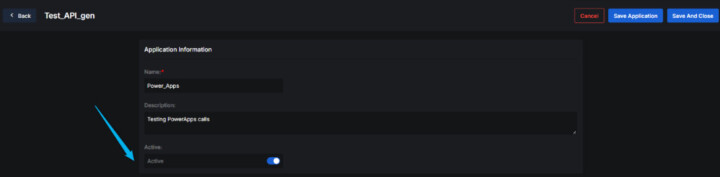
- Name – A name to identify your application.
Optional fields:
- Description – Add a short description to clarify the purpose of the application.
- Active – Choose the application’s status: Active or Inactive.
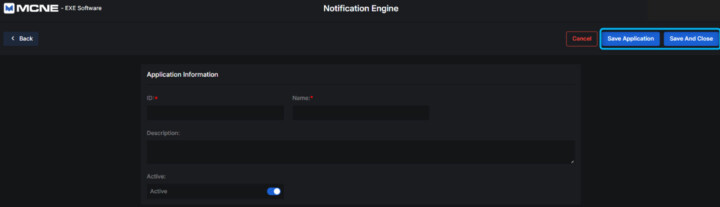
4. When you’ve completed the form, choose one of the following:
- Save – Save the information and remain on the page.
- Save and Close – Save the application and return to the application list.
5. Once saved, your application will appear in the list of all applications. You can see it listed there.
Note: Every application automatically receives a unique API key. This key is read-only and cannot be modified.
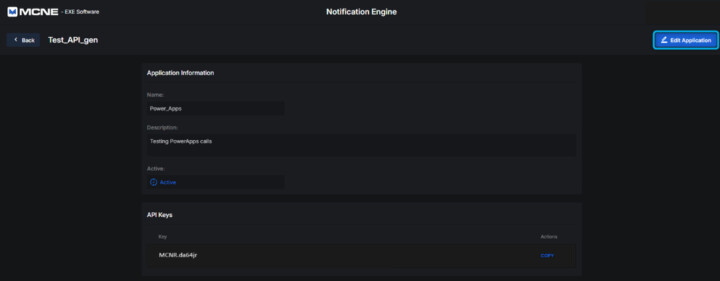
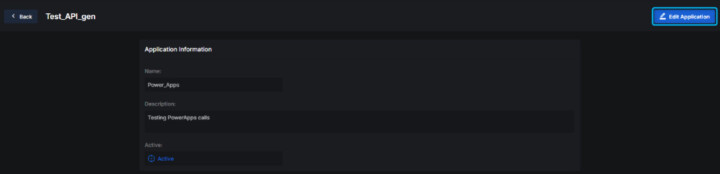
Viewing an Application’s Details
To view the details of an existing application, follow the steps. Before you begin, make sure you have an account and are logged in.
1. Go to the “Applications” tab from the main menu.
2. Locate the application you want to view.
3. Click the “Details” button next to it.

4. You’ll be redirected to the Application Details page.
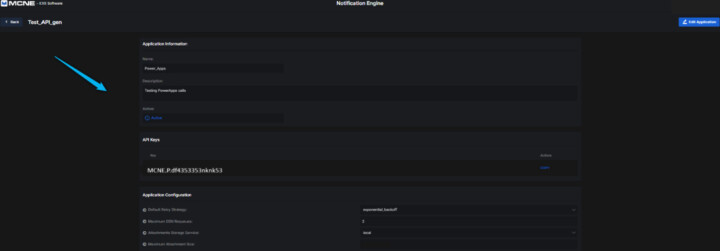
On this page, you cand see all current information about the application, including:
- Name – name of your application, used for identification in the platform.
- Status (Active/ Inactive) – Shows whether the application is currently active or inactive.
- Description – optional text describing the purpose or context of the application.
- Api Key – A unique key used for secure API access. It’s read-only and cannot be edited.
- Configuration Settings:Customize how your application behaves:
- Default Retry Strategy – Defines how failed messages are retried.
- Maximum DSN Requeues – Limits how many times DSNs are retried.
- Attachments Storage Service – Defines where attachments are stored.
- Maximum Attachments Size – Sets a size limit for uploaded attachments. Please contact ExeSoftware sales@exesoftware.ro if you need to change the default setting
- Retention Days – Default period for notification retention before archival process. Please contact ExeSoftware sales@exesoftware.ro if you need to change the default setting
- Local Attachments Path – Path used for storing attachments locally.
- Azure Storage Connection String – Secure connection info for Azure Blob.
- Azure Container Name – The Azure container where files will be stored.
- Log level – Shows the current log verbosity (default or custom).
- User Management – Lists users assigned to this application and shows whether each is active or inactive.
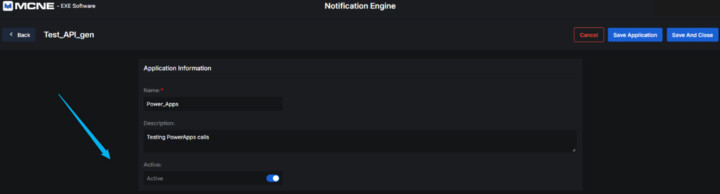
Editing an Application
To edit the details of an existing application, follow the steps. Before you begin, make sure you have an account and are logged in.
1. Go to the “Applications” tab from the main menu.
2. Find the application you want to edit and click the “Details” button.

3. On the details page, click “Edit Application” to enter edit mode.
4. You cand now make changes to the following fields:
Editable Fields:
- Name (required) – You can update the application name at any time.
- Description (optional) – Add or update the description to better reflect the app’s purpose.
- Status (Active/ Inactive) – Set whether the application is enabled (Active) or disabled (Inactive).
- Configuration Settings:You can edit:
- Default Retry Strategy
- Maximum DSN Requeues
- Attachments Storage Service
- Maximum Attachments Size
- Local Attachments Path
- Azure Storage Connection String
- Azure Container Name
- Log level – View and modify the log level if needed (e.g., error).
- User Management – Activate or deactivate users assigned to this application.
Non-editable:
- Api Key – This key is automatically generated and cannot be changed.
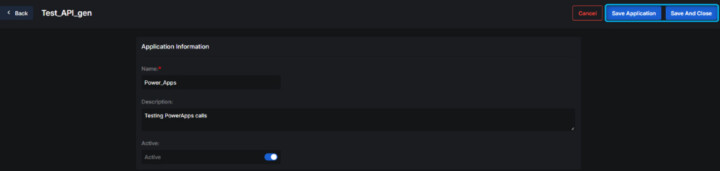
5. Once your edits are complete, choose one of the following actions:
Editable Fields:
- Save – Save your changes and remain on the edit page.
- Save and Close – Save your changes and return to the application list.
Activating/ Deactivating an Application
To activate or deactivate an application, follow the steps below. Before you begin, make sure you have an account and you are logged in.
1. Navigate to the “Applications” tab in the main menu.
2. A list of all existing applications will be displayed.
3. Find the desired application and click the “Details” button next to it.

4. On the application details page, click the “Edit Application” button.
5. In the edit form, locate the “Active” field.
6. Use the field to toggle the application status:
- Select “Active” to enable the app
- Select “Inactive” to disable the app.
7. Click the “Save” button to apply the changes.
Note: When an application is set to Inactive, it becomes unavailable for use across the platform.